In this article, you will learn step-by-step instructions on how to replace the alternator in a Chevrolet Impala. We will cover everything you need to know, from gathering the necessary tools to removing the old alternator and installing the new one. By the end, you will have the knowledge and confidence to successfully replace the alternator in your Chevrolet Impala.

Preparing for the Replacement
Before you begin the process of replacing the alternator in your Chevrolet Impala, it is important to gather the necessary tools. You will need a set of sockets and wrenches, pliers, a ratchet, and a screwdriver. Make sure you have all the tools handy before you start, to ensure a smooth process.
The first step in replacing the alternator is to disconnect the negative battery cable. This is an important safety precaution that will protect you from any electrical shocks during the replacement process. Locate the negative battery terminal, usually identified by a black or “-” sign, and use a wrench to loosen the nut and remove the cable.
Next, you may need to remove any components that are blocking access to the alternator. This could include air intake tubes, belts, or other surrounding parts. Refer to your vehicle’s manual for specific instructions on how to remove these components. Once they are removed, you will have clear access to the alternator.
Removing the Old Alternator
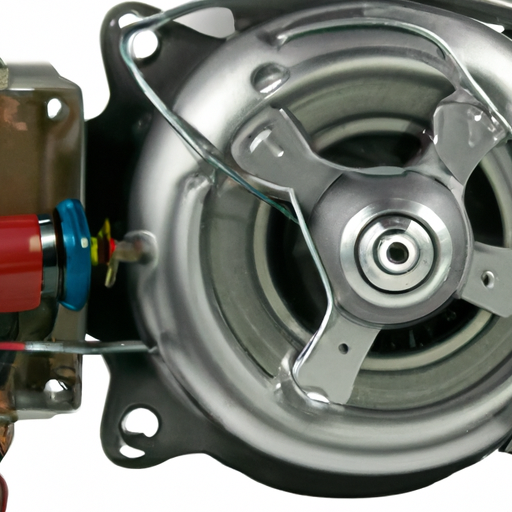
Locating the old alternator is the next step in the replacement process. It is usually positioned on the side of the engine, with electrical connections and mounting bolts holding it in place. Take note of its position and the orientation of the electrical connections.
Before disconnecting the electrical connections, it is important to exercise caution. Electrical components can be delicate, so be gentle when removing any wires or connectors. Use pliers or your fingers to disconnect the connections one by one, making sure to remember their placement for reassembly.
Once the electrical connections are removed, you can then proceed to remove the mounting bolts. These bolts secure the alternator to the engine block and may be tightened, so use a wrench or ratchet to loosen and remove them. Take note of the number of bolts and their sizes, as you will need to secure the new alternator in the same manner.

Installing the New Alternator
Now that the old alternator is removed, it is time to install the new one. Start by positioning the new alternator in the same orientation as the old one. Ensure that it is aligned correctly with the mounting holes on the engine block.
Using the mounting bolts that you removed earlier, secure the new alternator in place. Tighten the bolts with a wrench or ratchet, making sure they are firmly in place but not overtightened.
Once the new alternator is securely mounted, it is time to reconnect the electrical connections. Refer to the notes or markings you made earlier to ensure that the connections are made correctly. Gently push the connectors back into place, making sure they are snug and secure.
Reassembling and Testing
With the new alternator installed and the electrical connections made, you can now reassemble any components that you removed earlier. This could include air intake tubes, belts, or other parts that were blocking access to the alternator. Again, refer to your vehicle’s manual for specific instructions on how to reassemble these components.
Next, reconnect the negative battery cable that you disconnected at the beginning of the replacement process. Tighten the nut using a wrench, ensuring a secure connection.
Before considering the replacement process complete, it is crucial to test the alternator and ensure that it is functioning properly. Start the engine of your Chevrolet Impala and observe its performance. If the engine starts and runs smoothly, and the battery indicator light on the dashboard is no longer illuminated, then you have successfully replaced the alternator.
Tips and Warnings
Replacing the alternator in a Chevrolet Impala can be a straightforward process if you follow these steps. However, it is important to refer to your vehicle’s manual for specific instructions and any additional steps that may be required for your particular model and year.
When working with electrical components, it is essential to exercise caution. Always disconnect the negative battery cable before beginning any work, and be gentle when removing or reconnecting electrical connections.
FAQs
How long does it take to replace the alternator?
The time it takes to replace the alternator in a Chevrolet Impala can vary depending on your level of experience and the specific model of your vehicle. However, with the necessary tools and following the outlined steps, it should take approximately 1 to 2 hours to complete the replacement process.
Can I replace the alternator myself?
Yes, you can replace the alternator in your Chevrolet Impala yourself. With the right tools and following the steps outlined in this article, you can successfully replace the alternator and save on labor costs.
Conclusion
By following these steps, you can successfully replace the alternator in your Chevrolet Impala and ensure the proper functioning of your vehicle. As with any DIY project, it is important to take your time, exercise caution, and refer to your vehicle’s manual for specific instructions. With the right tools and a little bit of patience, you can confidently replace the alternator and keep your Chevrolet Impala running smoothly.
