Are you having trouble with a dim or burnt out headlight bulb in your Toyota Highlander? Don’t worry, replacing it is easier than you might think! In this article, we will guide you through the step-by-step process of replacing the headlight bulb in your Toyota Highlander, ensuring that you have a clear and bright headlight once again.
To begin, you will need a new headlight bulb that is compatible with your Toyota Highlander model. Make sure to check your owner’s manual or consult with a professional to ensure you purchase the correct bulb. Once you have the bulb ready, the first step is to open the hood of your Highlander and locate the back of the headlight assembly. From there, it’s a matter of disconnecting the electrical connector, removing the old bulb, and replacing it with the new one. We will provide detailed instructions for each of these steps, as well as any additional tips or precautions you should be aware of.
By the end of this article, you will have the knowledge and confidence to successfully replace the headlight bulb in your Toyota Highlander. Say goodbye to dim headlights that hinder your visibility on the road, and hello to a safe and well-lit driving experience. Let’s get started!
Removing the old headlight bulb
Locating the headlight bulb housing
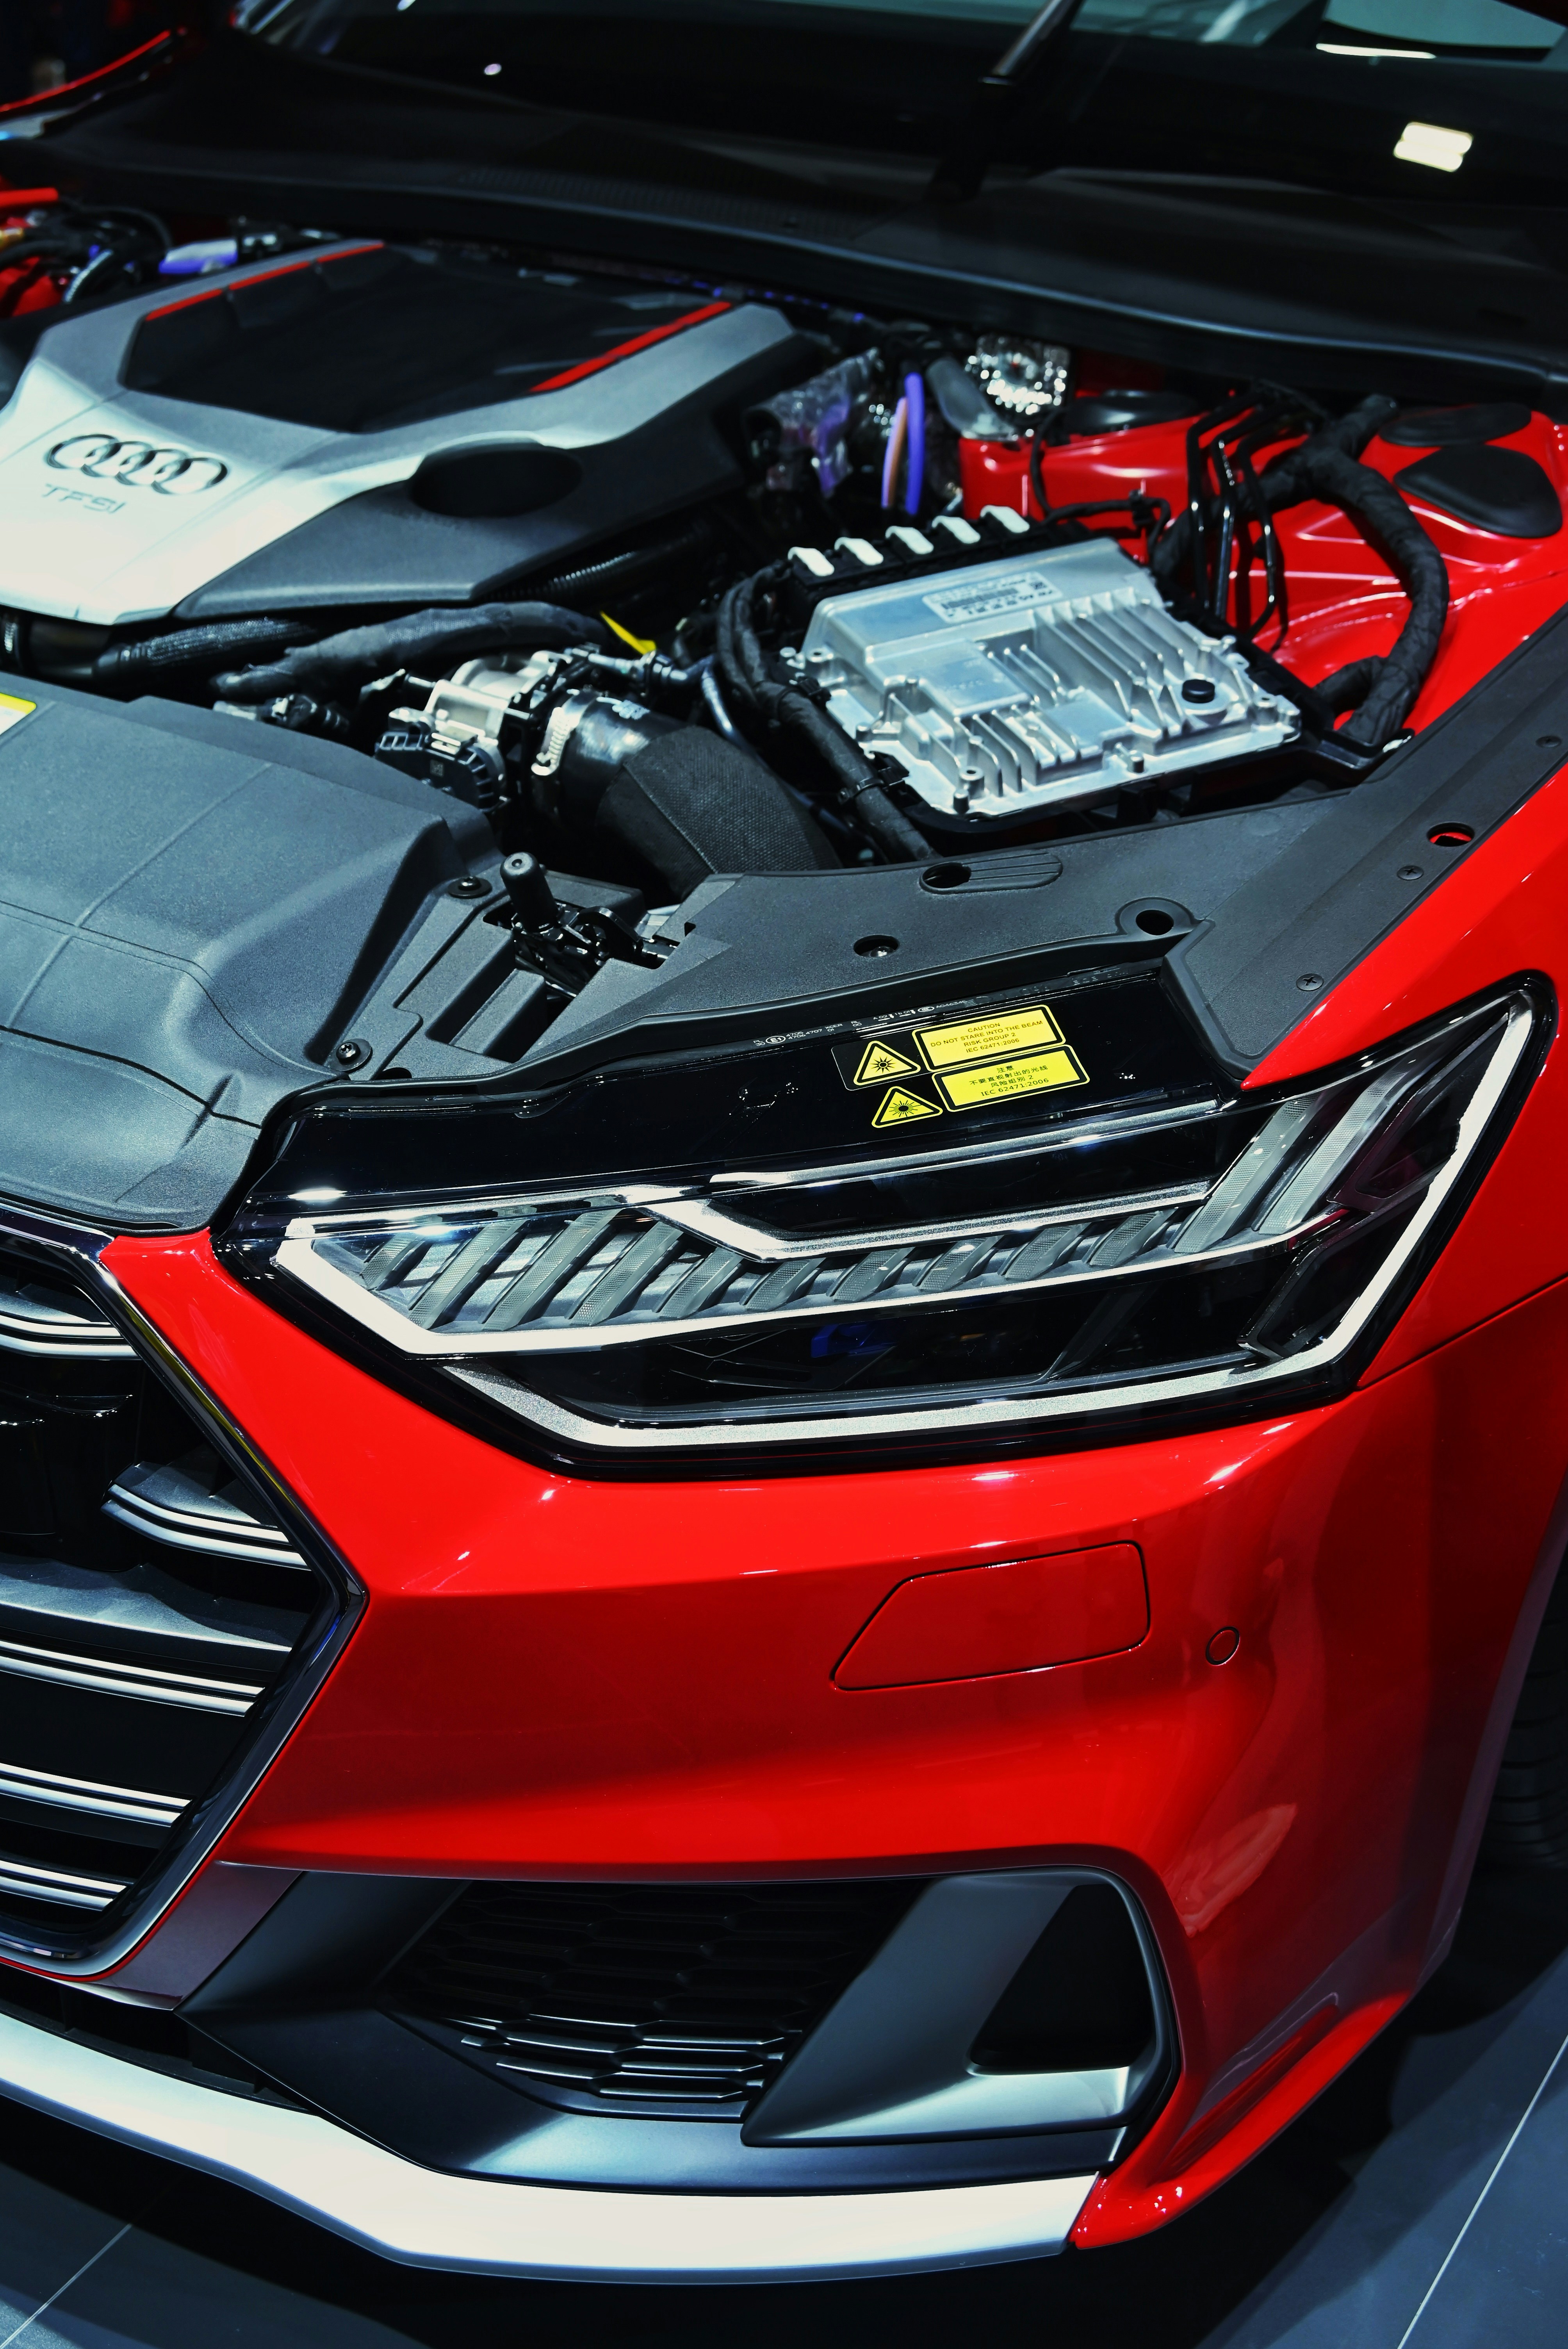
The first step in replacing the headlight bulb in your Toyota Highlander is to locate the headlight bulb housing. The housing is usually located at the front of the vehicle, near the grille. You may need to open the hood of your Highlander to access the housing.
Accessing the headlight bulb housing
Once you have located the headlight bulb housing, you will need to access it in order to remove the old bulb. Some Highlanders may have a cover or a panel that needs to be removed in order to access the housing. Check your owner’s manual or consult a repair guide for your specific model to find the exact method of accessing the housing.
Detaching the power connector
Before removing the old bulb, you will need to detach the power connector. The power connector is usually a plastic piece that is connected to the back of the bulb. Carefully disconnect the power connector by squeezing the sides or pressing down on a tab, depending on the type of connector used in your Toyota Highlander. Once the power connector is detached, you can proceed to remove the old bulb.
Selecting the replacement bulb
Identifying the correct bulb type
When selecting the replacement bulb for your Toyota Highlander, it is important to identify the correct bulb type. The bulb type can usually be found in your owner’s manual or on the old bulb itself. Common bulb types for Highlanders include H11, 9005, and 9006. Make sure to purchase a bulb that matches the type of bulb you are replacing.
Choosing the appropriate bulb brand
In addition to the bulb type, it is also important to choose the appropriate bulb brand for optimal performance. Popular bulb brands for Highlanders include Philips, Sylvania, and Osram. These brands are known for their high-quality bulbs that provide bright and long-lasting illumination. Consider reading reviews and comparing prices to make an informed decision when choosing a bulb brand.
Considering brightness and durability
When selecting a replacement bulb, it is important to consider factors such as brightness and durability. Bulbs with a higher brightness rating will generally provide better visibility on the road. Additionally, selecting a bulb that is known for its durability can help prevent the need for frequent replacements. Keep these factors in mind when choosing a replacement bulb for your Toyota Highlander.
Preparing for the replacement
Gathering necessary tools
Before beginning the replacement process, it is important to gather all the necessary tools. You will need a pair of gloves, a screwdriver or wrench (if necessary for accessing the housing), and the replacement bulb. It is important to have all the tools on hand to ensure a smooth replacement process.
Ensuring safety precautions
When replacing a headlight bulb, it is important to ensure safety precautions are followed. Turn off the engine and allow the headlights to cool down before proceeding with the replacement. Additionally, wearing gloves can help protect your hands from any debris or oils that may be on the bulb or in the housing.
Cleaning the headlight area
Before installing the new headlight bulb, take a moment to clean the headlight area. Use a clean cloth or mild soap and water to remove any dirt or debris that may have accumulated. This will help ensure a clear and unobstructed view once the new bulb is installed.
Installing the new headlight bulb
Inserting the new bulb into the housing
Once the old bulb has been removed and the headlight area is clean, you can proceed with installing the new headlight bulb. Take the new bulb out of its packaging, being careful not to touch the glass portion of the bulb. The oils from your fingers can cause the bulb to overheat and fail prematurely. Insert the new bulb into the housing, making sure it is securely in place.
Securing the bulb with its retaining clip
After inserting the new bulb into the housing, you will need to secure it with its retaining clip. The retaining clip is a small metal or plastic piece that holds the bulb in place. Carefully insert the clip and ensure that it is securely fastened to prevent any movement or looseness.
Reattaching the power connector
Once the bulb is securely in place, you can reattach the power connector. Align the connector with the bulb and press it firmly until you hear a clicking sound. This indicates that the power connector is properly connected. Be careful not to force the connector as it may break.
Testing the new headlight bulb
Turning on the headlights
After installing the new headlight bulb, it is important to test its functionality. Turn on the headlights and make sure that both the low beam and high beam settings are working properly. If the bulb does not illuminate, double-check the power connection and make any necessary adjustments.
Checking for proper functioning
While the headlights are on, check the beam pattern and brightness of the new bulb. Ensure that the light is properly focused and covers the intended area. If you notice any irregularities or inconsistencies in the beam, it may be necessary to adjust the headlight alignment.
Adjusting the headlight alignment if necessary
If the headlight beam is misaligned or uneven, it may be necessary to adjust the headlight alignment. This can typically be done by turning the adjustment screws located near the headlight assembly. Consult your owner’s manual or a repair guide for your specific model to find the exact method of adjusting the headlight alignment.
Replacing the headlight cover
Cleaning the cover if needed
Before replacing the headlight cover, take a moment to clean it if needed. Use a clean cloth and mild soap and water to remove any dirt or debris that may have accumulated on the cover. This will help maintain the appearance and clarity of your Highlander’s headlights.
Placing the cover back on the assembly
Once the headlight cover is clean, carefully place it back on the assembly. Ensure that it is aligned correctly and fits securely. The cover should snap or lock into place, depending on the design of your Highlander’s headlights.
Securing the cover with clips or screws
After placing the cover back on the assembly, secure it using the appropriate clips or screws. Consult your owner’s manual or a repair guide for your specific model to find the exact method of securing the headlight cover. Make sure that all clips or screws are tightened properly to prevent any movement or looseness.
Ensuring long-lasting performance
Regularly inspecting and cleaning headlights
To ensure long-lasting performance of your Toyota Highlander’s headlights, it is important to regularly inspect and clean them. Check for any signs of damage or wear, and clean the headlights as needed to maintain brightness and clarity. This will help ensure optimal visibility and safety on the road.
Replacing both bulbs simultaneously
When replacing the headlight bulb in your Highlander, it is recommended to replace both bulbs simultaneously. This will help ensure consistent brightness and color temperature on both sides of the vehicle. Additionally, it will prevent the need for another replacement in the near future.
Consulting a professional if issues persist
If you experience any issues with your Highlander’s headlights even after replacing the bulb, it may be necessary to consult a professional. They will have the knowledge and expertise to diagnose and repair any underlying electrical or wiring issues that may be causing the problem.
Handling and disposing of the old bulb
Using gloves for handling
When handling the old headlight bulb, it is important to use gloves to protect your hands. The old bulb may contain oils or debris that could be harmful or irritating. Additionally, wearing gloves will help prevent any oils from your skin from transferring to the bulb, which could cause it to overheat or fail prematurely.
Placing the old bulb in a safe container
After removing the old headlight bulb, place it in a safe container for disposal. This will prevent any potential hazards, such as broken glass or oil leakage. It is important to handle the old bulb with care to avoid injury.
Recycling or disposing of the bulb properly
Finally, it is important to dispose of the old headlight bulb properly. Check with your local recycling center or waste management facility for guidelines on how to properly dispose of automotive bulbs. Many areas have special recycling programs for bulbs and other automotive parts to ensure proper disposal and environmental protection.


Troubleshooting common issues
Dim headlights after replacement
If you notice that your Highlander’s headlights are dimmer than before after replacing the bulb, there may be a few possible causes. First, double-check the power connector to ensure it is properly connected. If the connector is loose or not making a good connection, it may cause a reduction in brightness. Additionally, make sure the bulb is securely in place and that the headlight assembly is clean and free of any obstructions.
Flickering or erratic bulb performance
Flickering or erratic bulb performance can be indicative of a faulty power connection or a problem with the electrical system. Double-check the power connector to ensure it is securely fastened. If the problem persists, it may be necessary to consult a professional to diagnose and repair any electrical issues.
Headlight alignment problems
If you notice that your Highlander’s headlights are misaligned or illuminating in a different direction after replacing the bulb, it may be necessary to adjust the headlight alignment. This can typically be done by turning the adjustment screws located near the headlight assembly. Refer to your owner’s manual or consult a repair guide for your specific model to find the exact method of adjusting the headlight alignment.
Conclusion
Successfully replacing the headlight bulb in your Toyota Highlander is crucial for enhancing visibility and safety on the road. By following the steps outlined in this guide, you can easily replace the bulb and maintain your Highlander’s lighting system. Remember to always exercise caution and consult a professional if you encounter any issues or difficulties during the replacement process. Regularly inspect and clean your Highlander’s headlights to ensure long-lasting performance. By taking these steps, you can drive with confidence, knowing that your headlights are in optimal condition.


